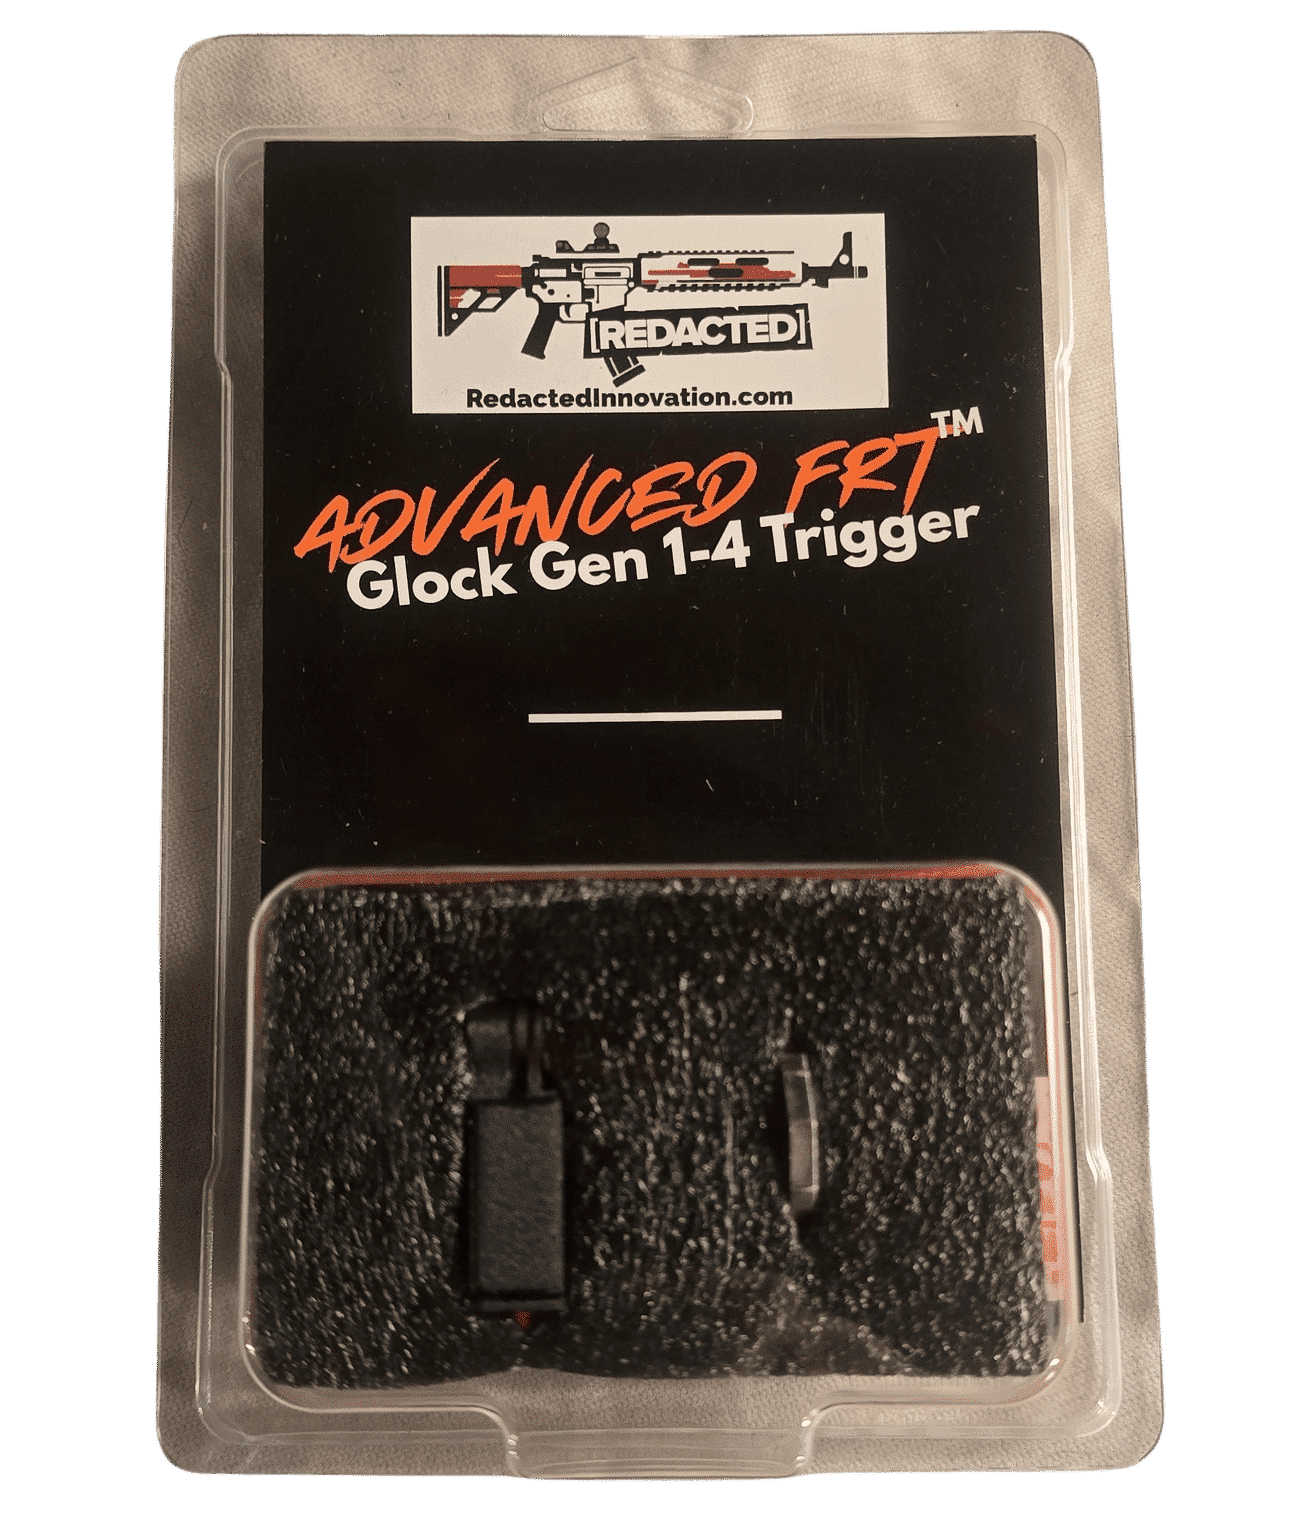
Advanced FRT Trigger For GLOCK Pistols
Description Unlock next-level speed and control for your Glock platform with the Advanced FRT Trigger For GLOCK Pistols — a precision-engineered forced reset trigger system featuring a brand-new internal design, swappable face plates, and the critical addition of an integrated mechanical safety. Developed for shooters who demand performance without compromising safety, this is the evolution of Glock triggers. Professionally manufactured in PAHT-CF, a carbon-fiber-reinforced high-temp nylon, the Advanced Glock FRT Trigger is purpose-built for durability, aggressive use, and enhanced heat resistance — whether you’re training, competing, or operating in demanding conditions. This upgraded system includes: Integrated Safety Mechanism – A built-in mechanical safety for peace of mind in every condition Precision Reset System – Delivers ultra-fast, consistent resets for rapid follow-up shots Modular Face Plates – Choose from multiple trigger face designs to match your preference and grip style Ideal for competitive shooting, tactical drills, or high-speed range work, the Advanced Glock FRT Trigger comes pre-assembled and drop-in ready — no cutting, no tuning, no nonsense. ✅ Key Features:✔️ Drop-In Ready – Fully pre-assembled for quick and easy installation in Glock-compatible frames✔️ Swappable Face Plates – Multiple face profiles included or available separately for custom feel✔️ Integrated Safety – Internal safety mechanism ensures controlled operation and enhanced user protection✔️ Advanced Material Construction – Built using PAHT-CF for maximum strength, stability, and heat tolerance✔️ Next-Gen FRT Design – A completely new internal mechanism designed for smoother performance and durabilityPremium Materials – All components are crafted from high-performance PAHT-CF and 304 Stainless Steel, including the safety system and custom-fit pins What’s Included:1x Advanced Glock FRT Trigger Assembly1x Integrated Mechanical Safety1x Standard Face Plate (Additional Plates Sold Separately) Installation and Glock FRT Introduction Video Important Safety Notes Before Starting: Ensure the firearm is completely unloaded: Remove the magazine, rack the slide several times, and visually and physically inspect the chamber to confirm no ammunition is present. Point the muzzle in a safe direction at all times. Wear eye protection and work in a well-lit, stable area. If you’re inexperienced with firearm disassembly, consider consulting a qualified gunsmith to avoid damage or injury. These instructions are for a standard Glock pistol (primarily Gen 3/4 models like G17/G19; Gen 5 may require a Gen 3 slide stop lever for compatibility and slight adjustments). Forced Reset Trigger (FRT) installations involve permanent modifications to the connector (disconnector), may void warranties, and could have legal implications—verify all federal, state, and local laws before proceeding. For best reliability: Use a 22lb recoil spring (or similar heavier spring) to provide sufficient slide velocity for the blade/shim to catch the barrel edge and force reset. Pair with a Ghost Triggers 3.5lb trigger kit (including their 3.5lb connector) for smoother operation and reduced pull weight—the kit complements but does not eliminate the need to remove the connector ear. The connector “ear” (protruding tab/ledge that the trigger bar cruciform rides on) must be removed/filed flat for the FRT blade mechanism to allow proper forward trigger bar movement and reliable reset. This is a required step regardless of connector brand. Never install or test with live ammunition until fully assembled and extensively function-checked (dry fire with snap caps, then dummy rounds) in a safe environment. Tools Required: Punch set (3/32″ for Glock frame pins) Small hammer (brass or non-marring preferred) Needle-nose pliers, tweezers, or small flathead screwdriver (for connector removal) Fine file set, Dremel tool with grinding stone/polishing bits, 400-600 grit sandpaper, and polishing compound/wheel Bench block or supportive surface Optional: Armorer’s block for Glock, spring compressor for slide components, extra connector (recommended as a spare since modification is permanent) Here’s an exploded view diagram of a Glock pistol for reference: And a close-up diagram of the Glock trigger mechanism, highlighting the connector and trigger bar: Step-by-Step Installation Instructions: Clear and field strip the pistol: Pull the trigger (dry fire if needed), depress the slide lock tabs on both sides, and slide the upper assembly forward off the frame. Remove the recoil spring assembly and barrel from the slide. Set aside. Place the frame on a bench block. Drive out the locking block pin (top/front pin, above the trigger area) from left to right using a 3/32″ punch and hammer. Drive out the trigger pin (middle pin, through the trigger housing). Drive out the trigger housing pin (rear pin, at the base of the grip). Remove the slide stop lever: Wiggle and lift it upward/out from the frame. Note orientation for reassembly (Gen 5 may need a Gen 3 lever). Pry/lift the locking block upward and out of the frame (front section). Remove the trigger assembly: Grasp the rear of the trigger housing and lift/pull the entire unit (housing, trigger bar, connector, springs) upward and out of the frame. Here’s a photo of the Glock trigger assembly removed, showing key components: Disassemble the trigger assembly: Push/slide the connector out of the housing sideways (use another connector or punch as a pusher from the opposite side to avoid damage). Disconnect the trigger spring (S-shaped) from the trigger bar (unhook from the loop). Slide the trigger bar forward/out of the housing. If your OEM shoe is pinned to the bar, drive out the small pin and remove the old trigger shoe. Install the new FRT trigger shoe: Slide the FRT shoe onto the trigger bar. Align any pin hole and tap in the pin gently. Modify the connector (required step – remove the ear): Use the Ghost 3.5lb connector from the recommended kit (or your chosen connector). Identify the “ear”/protruding angled tab/ledge on the connector (raised portion on the side where the trigger bar cruciform rides during reset—typically visible on the right when viewed from rear). Using a fine file or Dremel with grinding stone, carefully file/grind this ear down until completely flat/flush with the surrounding surface. Work slowly in small increments—test fit frequently. After removal, polish the entire connector face (angled reset surface, new flat area, and contact points) to a mirror finish with polishing compound to minimize friction and ensure smooth reset. Clean thoroughly to remove all metal debris. Note: Over-removal can cause light primer strikes or reset failures; under-removal prevents reliable FRT function. A slight bevel on the new flat edge can help transitions, but flat is standard. Here’s an image showing a stock connector (for visual reference): Here’s an image showing where to cut the disconnector: Reassemble the trigger assembly: Rehook the trigger spring onto the trigger bar loop. Slide the trigger bar back into the housing. Install the modified/polished connector into the housing slot until it seats flush. Reinstall into frame: Drop the assembled trigger housing back into the frame, seating fully. Reinsert the locking block. Reinstall slide stop lever: Position it correctly (under trigger pin area) and seat it. – For Glock Gen 5, Gen 6, and V, the slide stop should be replaced with a Gen 3 Slide stop Reinsert pins: Align and tap in (right to left): trigger housing pin (rear) and locking block pin (front). Apply downward pressure on housing if needed for alignment. Rinsert Trigger Pin: Align and tap in (right to left): trigger pin (middle), place FRT shim/blade onto trigger shoe, with the hole aligned with the trigger pin hole in the shoe. Apply downward pressure on pin and ensure the shim/blades is facing upward and moves freely. Recommended slide modifications for reliability: Remove slide cover plate (depress spacer sleeve, slide off). Extract firing pin assembly, channel liner, and safety plunger/spring. Replace firing pin spring with a lighter ~4lb spring (often in Ghost kit). Replace safety plunger spring with reduced-power version if provided. Reassemble slide components and cover plate. Recoil spring upgrade: Replace stock recoil spring with a 22lb (or similar heavier) spring for stronger recoil impulse to ensure consistent blade catch on barrel edge. Reassemble pistol: Install barrel and new recoil spring into slide. Slide upper onto frame rails until locked. Final function check (critical – do extensively): Rack slide multiple times (empty gun). Hold trigger back while racking—verify trigger resets forward forcefully via FRT blade mechanism catching barrel. Dry fire repeatedly (use snap caps): Confirm smooth pull, crisp break, immediate reset, no sticking/hang-ups. Check all safeties (drop safety, trigger safety if present). Cycle with dummy rounds to verify feeding/reset before any live fire. If reset inconsistent: Re-check connector modification (ear fully removed?), polishing, spring weights, blade fit/polish. Adjust blade height minimally if needed (file carefully). If issues persist (e.g., no reset, light strikes, drag), disassemble and inspect connector mod first—it’s the most common issue. ⚠️ Legal Compliance Disclaimer: This product is designed in accordance with federal standards but may be restricted in some states or jurisdictions. It is your responsibility to verify compliance with local and federal laws before purchase or installation. ⚠️ DISCLAIMER: This product is not manufactured, authorized, endorsed, or warranted by GLOCK. GLOCK does not warrant or represent that this product is compatible with GLOCK pistols. ⚠️DISCLAIMER: “GLOCK” is a federally registered trademark of GLOCK, Inc. and is one of many trademarks registered by GLOCK, Inc. and GLOCK Ges.m.b.H. Neither Redacted Innovation, LLC nor this site are affiliated in any manner with, or otherwise endorsed by, GLOCK, Inc. or GLOCK Ges.m.b.H. The use of any “GLOCK” trademarks on this page is merely to advertise the sale of pistols, parts, components or accessories that are compatible with GLOCK pistols. For genuine GLOCK, Inc. and GLOCK Ges.m.b.H. products and parts visit www.glock.com. States with Bans or Restrictions on FRT Triggers (No frT kits will be shipped with orders to the following locations): State Status California Banned under state assault weapon laws and definitions of machine guns New York Banned as part of SAFE Act and state-defined machine gun classifications New Jersey Classified as machine guns – possession is illegal Massachusetts Prohibited under assault weapon ban and machine gun classification Connecticut Banned under assault weapon laws Maryland Prohibited under state law regulating machine guns Delaware Explicitly bans devices that simulate automatic fire Florida State law prohibits bump fire stocks under §790.222; applicability to other trigger devices may depend on interpretation and enforcement Hawaii Prohibited under state machine gun restrictions Illinois Banned under state assault weapons and accessories restrictions Washington Banned under recent legislation restricting trigger modifications Colorado Some counties or cities (e.g., Denver) may ban FRTs under local ordinances Rhode Island Treats FRTs as illegal under automatic weapon laws